mysql在Ubuntu安装
1. 安装
“`shell
sudo apt install mysql-server
在安装过程中弹出提示,选择y
2.安装完成后可以输入mysql --version查看版本

3.设置mysql服务器自动启动
systemctl status mysql.service
如果由于某些原因MySQL服务器未运行,执行以下命令以启动MySQL服务器
sudo systemctl start mysql
4. 进行密码认证(不要先进行第四部,大概率会报错,先进行第五步)
sudo mysql_secure_installation

按提示选择密码强度,
这里需要注意一下,密码
LOW    Length >= 8
MEDIUM Length >= 8, numeric, mixed case, and special characters
STRONG Length >= 8, numeric, mixed case, special characters and dictionary file
然后按提示输入新密码,就会提示这个错误
Failed! Error: SET PASSWORD has no significance for user ‘root‘@‘localhost‘ as the authe
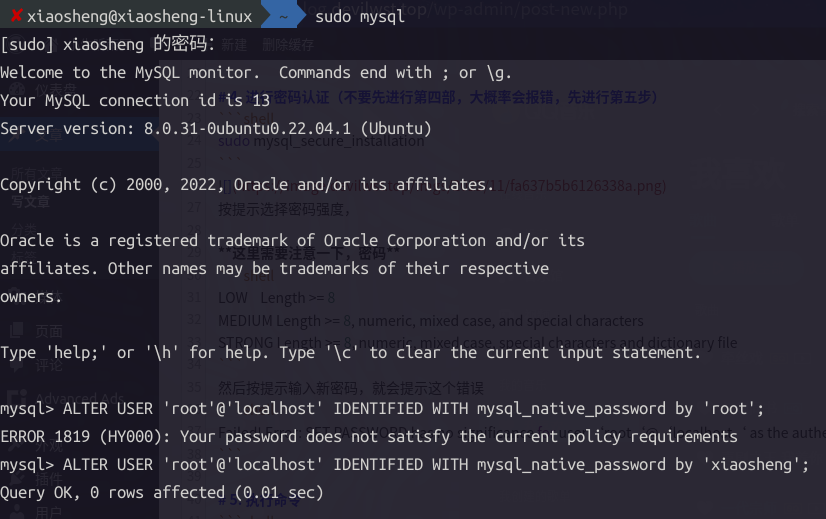
5. 执行命令
sudo mysql

接着执行
ALTER USER 'root'@'localhost' IDENTIFIED WITH mysql_native_password by 'xiaosheng';
6. 执行命令
sudo mysql_secure_installation
Remove anonymous users? (Press y|Y for Yes, any other key for No) : y
这里选择了y,删除匿名用户

Reload privilege tables now? (Press y|Y for Yes, any other key for No) : y
要求重新加载特权表,以使上述更改生效。 按Y 键

然后使用
mysql -u root -p
来登录mysql


